Setting up a blog is actually fairly straightforward.
Even with little computer knowledge you can get online and start blogging in twenty minutes or so.
How to Start a Successful Blog
Here are the first two key steps.
Register a domain name
If you have beaten me to this and already have a domain name, you can skip this step.
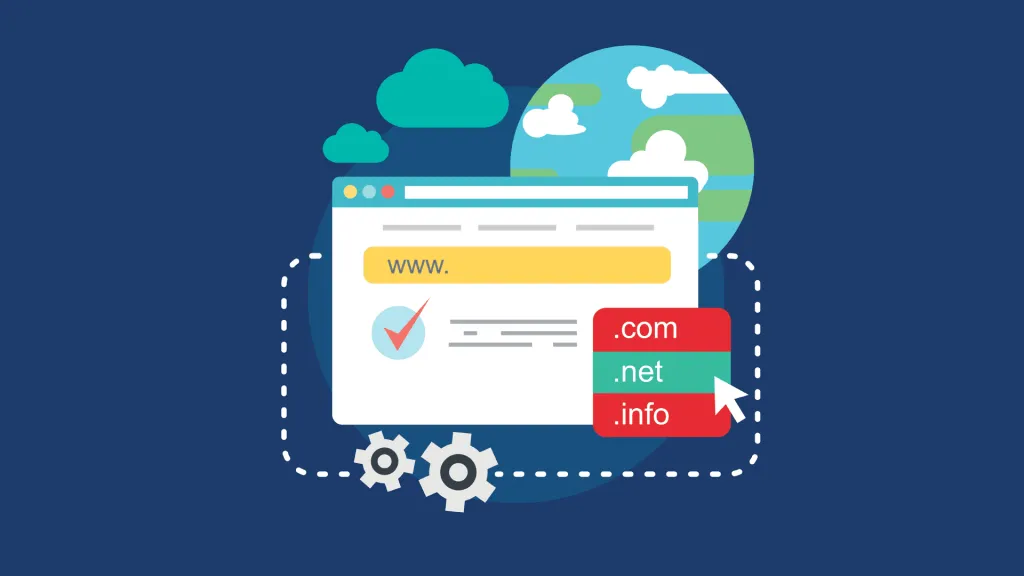
A domain name is the address that people will use to get to your blog. It is usually wise to choose a descriptive and unique name that tells your audience more about you or your service.
If you are stuck for ideas, you could try using your name for your blog domain. There are search engines that will tell you if your domain is available and suggest alternatives if it is not.
Next you will need to choose a domain extension. There are number of these but it is wise to stick to the familiar extensions. The common domain extensions include .com, .net and .org.
If you have a hard time deciding on a unique domain name from your interest words, you could use a tool to help with suggestions.
Name Tumbler is a free tool where you can enter a keyword and it will generate different combinations to give you ideas.
Choose a Web Host
A web hosting account will store all your website files and makes the information available to users when they key in your domain name.
You need a web host to have a blog. It is important to choose a reliable host to avoid frustrating your visitors (and yourself!). I recommend using a web host that supports WordPress – as that is what we will be using for the blog.
Key issues can include the loading time and accessibility of your blog. A bad host will give you a raw deal. The number 1 web host that I recommend is Blue Host.
There are many others that you can choose from but BlueHost offers the following advantages:
- Their customers get an easy and free WordPress installation feature.
- They have a good reputation and currently host two million-plus websites.
- Their customer service and support is excellent and up all the time – 24/7 email, phone or webchat.
- They offer a money-back guarantee.
- WordPress has recommended them for over a decade.
Blue Host isn’t the cheapest host on the market, but it is one of the highest quality. Do yourself a favor and save yourself a headache later on by using them from the start.

Setting Up Your Blog
For new bloggers who have little experience, it is advisable to choose the starter plan.
This will give you a website hosted by BlueHost with 100GB of space and unlimited bandwidth. After choosing your plan, you will be redirected to another window to enter your domain name.
The domain window will have two dialogue boxes. Type your domain name in the dialogue box at the left and click next.
BlueHost will check if your domain name is available. The dialogue on the right can be used by persons that have a domain name and want to uses it for their blog.
This box can however be used by people who have paid to register their domain.
For starters, if the domain name you typed is unavailable, a list of available domain names closely matching your name will appear in a scroll down.
You can edit your typed domain name or choose one from the ones provided and try again. It should be easy to get a domain name.
Once you get one, you will be taken to the billing or the registration page. You will fill your details in the boxes provided. It is at this time that you will choose your domain username and password.
The next step will be to choose a hosting package. A 12-month package is recommended as it gives you a chance to enjoy lower rates.
Boxes for other products should be unchecked. You can however add these products later on. You then press enter to sign in and your account will be created.
A few minutes after your account is set, you can log in from the BlueHost homepage. Click on the “log in” tab and type your domain name and password set during registration.
When you are logged in to your account, make sure that you closed all pop-up windows. You are now ready to install WordPress.
Look under your website or the heading “Install WordPress” and click on it.
This will automatically log you in to the Mojo Marketplace and the WordPress install page. The DIY process is simple and free. Just follow the instructions.
When you click on “install”, make sure that you choose your domain name and then click on check domain. Go to the “Show advanced options” box and click on it.
This gives you the room to enter the user name, site title and password. These are not restricted and you can put anything.
However, remember that all these except the username can be edited in future. Set these fields in a way that you will not forget them or note them down somewhere.
Check through the window again and agree to the terms and conditions and happily press on “Install Now”. WordPress takes just a few seconds to install.
You are now finished with the installation. A window with your credentials will be open.
It is only available for the first twelve hours so make sure you check it and note down what is important. An email with all your log-in information will be sent to your email address.
How to use your WordPress blog
Once you have installed WordPress, you are then ready to learn how to use the blog.
It is simple, and this guide will help you learn faster and get you started.
How to make changes to your blog will be explained later.
Logging In
For you to log-in, navigate there via . Use your domain username and password to log in.
In case you are unsure, you can always confirm using the information you received in the email upon successfully installing WordPress.
Changing Your Blog Title
After logging in, you will be able to access the WordPress administrator area. From here you can change most things on your blog.
The most common thing that people look forward to change is the blog title. You can do so by clicking on the settings tab at the bottom of the menu at on the left after log in.
This leads to another window where you can change both the blog title and subtitle, commonly known as the tagline.
After entering your desired title and subtitle, scroll down and click on the ‘Save Changes’ button at the bottom.
The changes will take effect immediately. Type your domain name in a browser and press Enter to preview your site.
How to Write a Post
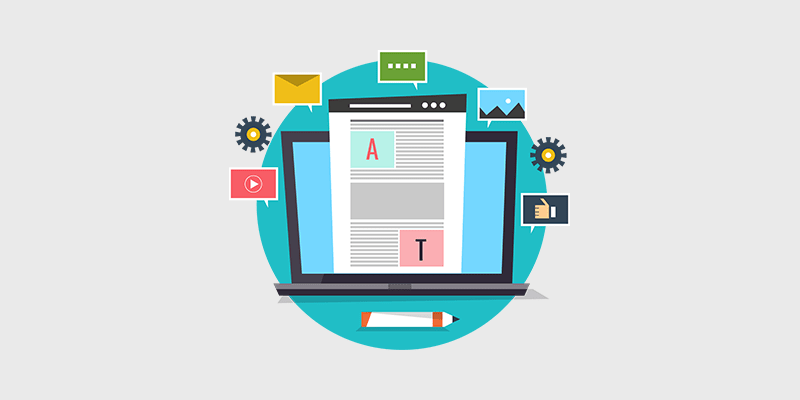
A blog is nothing, if you will not write anything on it. Here’s how to write your first post. Find the “Posts” tab on the menu on the left of the window.
Click it and you will find the default post, “Hello world”. You do not need this post and you can easily delete it by clicking on the “Trash” tab just below it.
You can now write a new post by clicking on “Add New” on the menu on the left or adjacent to “Posts”. A post creator screen will open.
Type the title of your post on the box at the top and then type your post body in the lower box. In case you want to add a post with a media, click on “Add Media” then “Select Files”.
This allows you to upload media directly from your computer. Make the right adjustments on the media in the screen that appears next.
When complete, add your media to the post by clicking “Insert into post”.
Proofread your post for any mistakes and, if satisfied, look out on the right of the active screen for the “Publish” button and click on it.
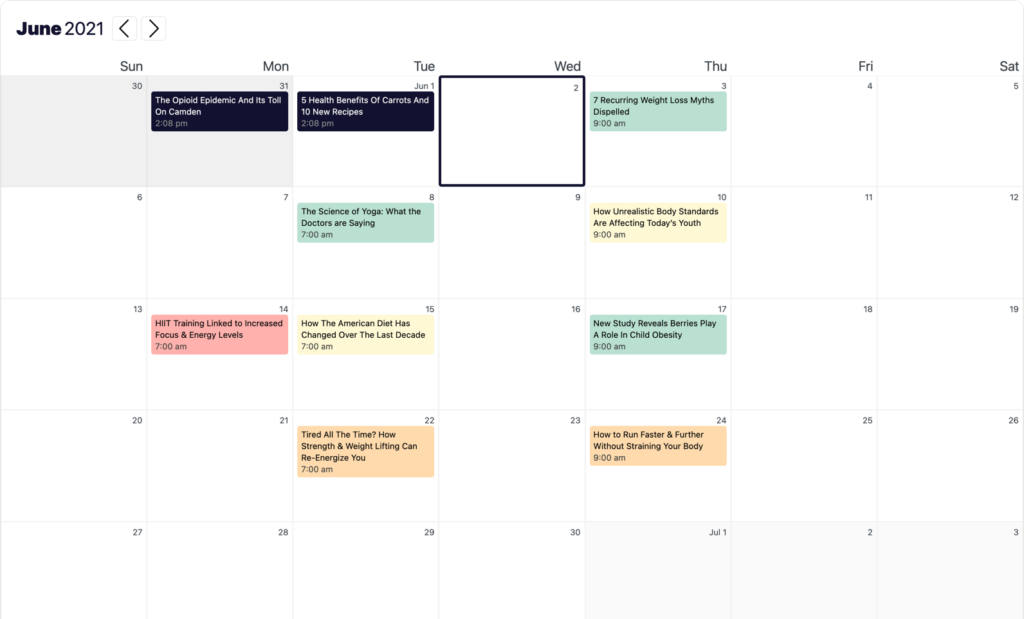
You can also use an editorial calendar plugin like Strive to schedule and plan your upcoming blog posts.
Publish your Blog
You have written a post on your blog but it could still be displaying a coming soon page.
You, therefore, have to publish your account once you are ready, by logging in and clicking on the link at the near top. Your content is now published on your site.
Configure Your Blog
You must be familiar with a few things about your blog by now. You realize how WordPress is an important tool and how it also helps you to customize and personalize your blog.
Your blog is not a one-time thing. It is a process and you may change many things gradually.
Your blog could be boring right now but with WordPress it can be so much more.
Basic Blog Design

WordPress allows you to craft your sites look exactly how you want it. You can change the entire layout of your site or just a few aspects all with a couple clicks.
The first thing you can change is the layout of your site. The layouts, also called themes, are important as they control the entire blog design.
You can change your theme by just clicking on the “Appearance” tab on the menu in the left. A list of themes that are already installed will then appear.
Most of these themes are generic and can thus fit most blog styles.
They are the perfect solution for many blog users all over the world. These themes are simple and are highly recommended if you do not have a specific design in mind.
To activate an already installed theme, you hover over it and click on the “Activate” button.
In case you do not like any of the themes that are preinstalled, you can always find a new theme easily. Go to the left menu and click on the “Appearance” tab.
A screen with a button “Add New” near the top will appear. Click on the button and you will move to a theme search screen.
To find a theme that you like, you can search by color and layout or by clicking on “Feature Filter”. Once you set the features that you like, click on “Apply Filters”.
Features filter option gives you a chance to view many of the available themes within the criteria that you choose.
Once you spot a theme that you like, hover the cursor over it and click on the “Install” blue button that appears.
It will take a few seconds to install. Then click on “Activate” in order for the changes to take effect.
You can then see how your new theme looks by visiting your site.
Creating Menus
After your theme is set, you need to create menus that will help your readers easily navigate through your site.
Let us create the Main Menu and then add items to it.
Click on “Appearance” on the left-hand side and then “Menus”.
Type the name “Main Menu” in the dialogue box that appears and then click on “Create Menu”.
The Main Menu is now created. Let us now add the link that redirects to my homepage.
Click on “Custom Links” then enter URL of my homepage. Enter http:// followed by the domain name.
A link text that is called Home is also entered. Once you are done, click on “Add to Menu”.
Let us now create a link to another page created earlier.
You do so by clicking on “Pages” on the menu and it will display all the pages created so far.
In case there are no pages created, a sample page may appear or it may remain blank.
You can easily create a new page by clicking on “Add New” on the left menu of the blog.
Once in the next page, click the checkbox and then on “Add to Menu”. After clicking “Save Menu”, your new page will be saved and changes will be seen immediately.
We now need to update the primary menu to have the main menu that we have created.
Click on the “Main Locations” tab and with the help of the drop-down that appears and then click on save changes.
Customizing Your Blog Design
To make your blog look exactly how you envisioned it, you can further customize you blog by clicking on the “Appearance” tab on the left-hand menu.
Your active window will be divided in two, with your homepage on the right and the customization menu in the left.
Optimization options will vary depending on the theme that you are using.
Below are the various customization options you can perform:
Site Title and Tagline
Some people may choose to do away with these sections entirely. You can do this by just unchecking or disabling the “Display Header Text” box.
In case you do not want to remove them, you can decide on how you want them to appear on top of your blog.
Colors
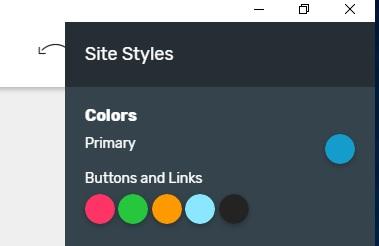
With the optimization option, you can change the color of your background and the text color of your headers.
Header Image
This option allows you to add an image to your header. The size of image header will differ with the different themes.
Background Image
Instead of having a solid color for your background, you can choose to add an image to the background from the upload option.
Navigation
You can choose the navigation menus to use in your blog with the help of this option. The menus must have been created in advance.
Widgets
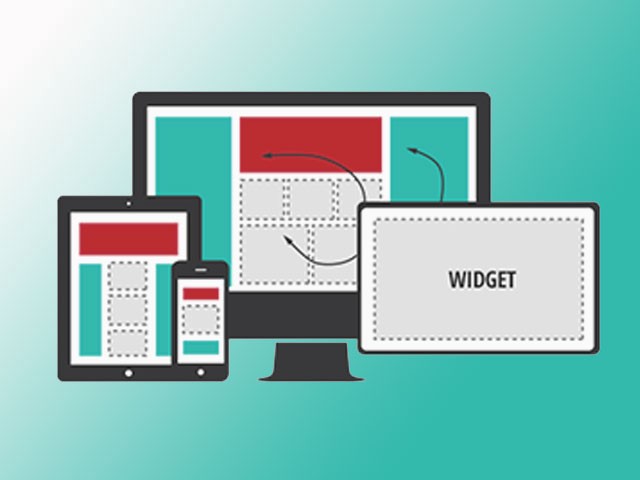
You may have various items that you need to add to your sidebar menus.
You have the power to remove or add these items; widgets to your sidebar menus.
You can manage your widgets by clicking on “widgets” then “Main Sidebar”.
This will display all the widgets being used in the “Main Sidebar” area. You can remove the widgets that you do not want by clicking on the arrow next to the particular widget and then on “Remove”.
Once you have removed the unwanted widgets, you can add new ones by clicking on “Add a Widget” and then get to choose the one that I like.
You can add widgets like calendar and recent posts widgets. Explore the different widgets you can add to your blog.
Adding plugins
These are tools from third party developers that can be added to the WordPress blog.
Many of these free plugins have varying on effects your blog. They are used to add social media buttons, create contact forms and increase the site visibility.
The most common free plug, in that every new blogger needs to have, is JetPack. It increases the ease to add images to the sidebar menu and publish posts on Facebook.
Through it you can tell the number of people that have visited your site.
Though additional plugins are optional, many find that they greatly benefit from their use.
Changing Your User Details
It is important for people to know who is writing in a certain blog. This is why it is important to edit the user details.
You click on the “User” tab and then under username click on “Edit”.
You can now change the E-mail and the nickname. The nickname is important as it will appear on all the posts made on the blog.
It is thus wise to select it wisely in a manner that will market your blog in a positive manner. It may not be necessary to change the E-mail.
To change the nickname, enter the name you want in the “Nickname” box. Go to the drop down box and choose the same name.
Once you are sure that you have made all the changes you need, click on “Update Profile” button. All your changes will be saved.
Changing Your URLs
As you continue to do activities in your blog, you will create new pages and hence, new URLs.
These URLs will be named in a certain format that is known as Permalinks. This format is not pleasant and many people opt to change it.
You can accomplish this by going to the settings on the menu. Click on “Permalinks” and a list of options will be displayed. Choose one that pleases you.
Any of these options will not affect anything else in your blog apart from your URL format.
How to make money from blogging
Once you have a working blog that is getting traffic, you can make money! The easiest way to make money through a blog is through advertising.
A good place to start is Google’s AdSense program. Once you have this program, you will be given a code.
Companies that are part of Google’s advertisement network will display adverts on your blog. Advertisements will be from both large and small companies some related and others completely off your topic.
There will be many companies bidding to have their advertisements on your site. The code is all you need.
For every person that visits the add from your blog, you earn. You will not have to have a lot. The most interesting thing is that you can be sure of your pay.
How Much Can you Make?
Your income will depend on the following factors:
The number of visitors to your site
Earning on the blog is all about creating traffic. This will increase the number of people to your site and the clicks on various advertisements.
The more the visitors click on advertisements the more the money for you.
The visibility of the ads

Since your blog is not all about money, you need to be cautious of where you place the ads.
You do not want to annoy your readers otherwise you will lose the traffic. This calls on how you display your ads.
However, remember that the better the display you give to ads, the more the chances of it being visited.
People who have given better priority to the ads may end up getting better pay.
You will have to find a way to get the best from your site and continue being relevant to your readers.
The topic that you are blogging about
Some sites will earn more than others depending on the topic that they handle. Advertisers in sites that relate in one way or another to the topic of the blog are bound to pay more for the ads.
The topic in your site also determines the type of purchasing power of the people that you are likely to get. Youths may not have a high purchasing power and therefore blogs with youth topics may earn less for adverts. These are the key things that may determine your earnings from a blog.
However, you need to know that it may take time for you to start earning.
If you follow the steps to make your blog work, you may end up benefiting a lot from it.
Jonathon Spire
Latest posts by Jonathon Spire (see all)
- SocialViral Review 2024 – Is It a Scam? - April 30, 2024
- Vire Review 2024 – Is it a Scam? - April 30, 2024
- iDigic Review 2024 – Is iDigic a Scam? - April 29, 2024


